Remote I/O Device of CONPROSYS
nano series does not automatically recognize devices when you connect
it with a LAN cable.
Therefore, it is necessary to perform the [Add legacy hardware] operation
in Device Manager in advance.
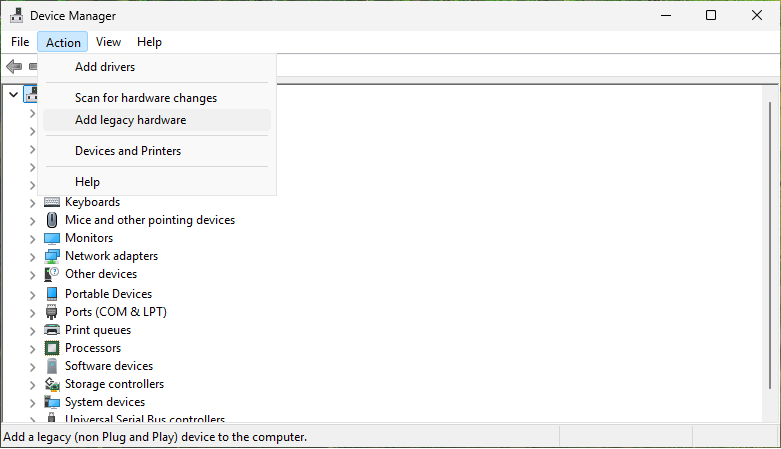
Start Device Manager and
select the PC name at the top of the tree view.
From the menu, select [Action] - [Add legacy hardware].
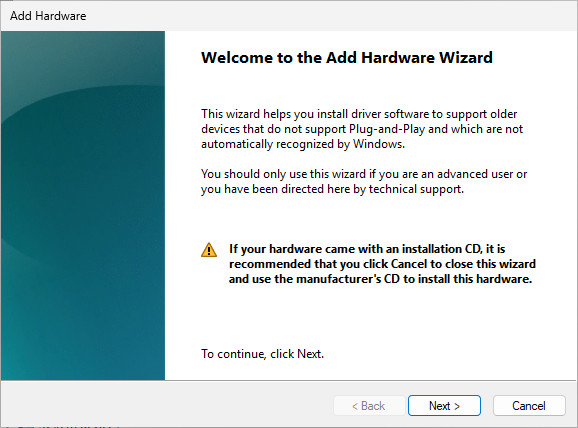
[Welcome to Add Hardware
Wizard] dialog is displayed.
Click [Next >].
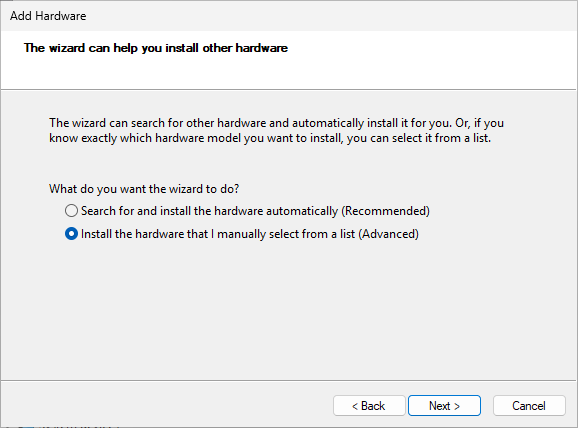
[The wizard can help you
install other hardware] dialog is displayed.
Select [Install the hardware that I manually select from a list] and
click [Next >].
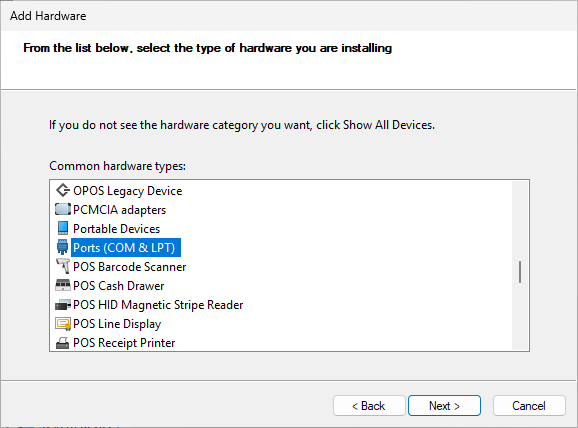
[From the list below, select
the type of hardware you are installing] dialog is displayed.
Select [Ports(COM & LPT)] from the list and click [Next >].
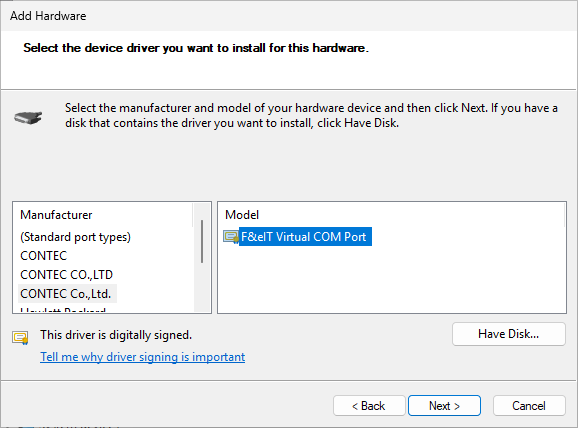
[Select the device driver
you want to install for this hardware] dialog is displayed.
When you select "CONTEC Co,.Ltd." from the [Manufacturer]
list in the left pane, the [Model] list in the right pane will be
updated.
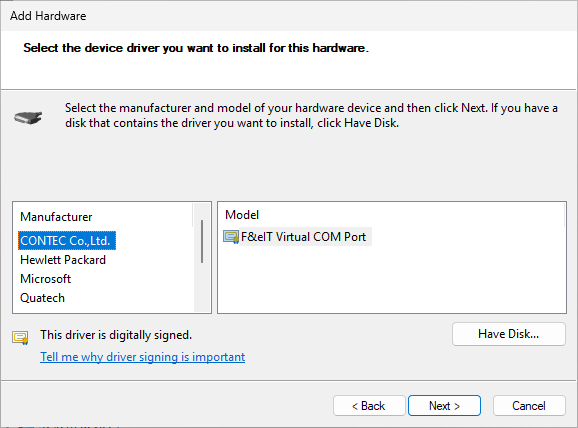
In the [Model] list in the
right pane, select[F&eIT Virtual COM Port] and click [Next >].
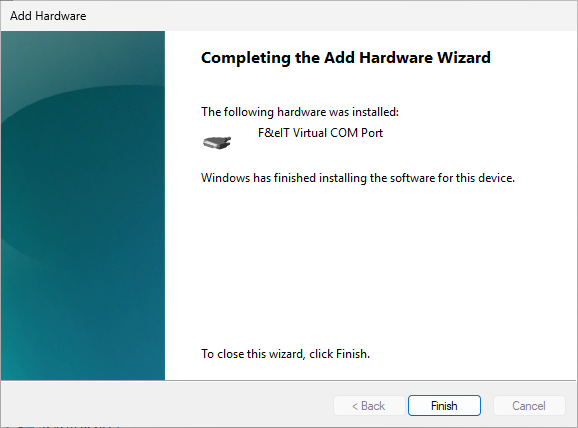
[Completing the Add Hardware
Wizard] dialog is displayed.
Click [Finish] to complete the installation of Media Converter devices
At this time,virtual
COM server will be automatically registered in the startup folder.
Please go the next step
when you use the serial port on Remote I/O CPU unit itself.
Please install I/O module to Remote I/O CPU Unit when you use the extended
serial port on it.
For details on how to install, please refer to the reference manual
for I/O module.
Connect the power cable
to Remote I/O CPU unit and power it on.
For details on how to connect, please refer to the reference manual(Hardware)
for each hardware device.
With the OS running, connect
the PC and Remote I/O CPU Unit with a LAN cable.
For details on how to connect, please refer to the reference manual(Hardware)
for each hardware device.
Please setting the properly
Remote I/O device of CONPROSYS nano series with "CONPROSYS nano
WEB Setting".
For details on setting, please refer to the reference manual (Software)
for each hardware device.
You can not use Virtual COM port on the COM
port which you have already indicated as using Modbus RTU Slave with
CONPROSYS nano WEB Setting.
Before using Remote I/O devices, please confirm and change the COM port.