Please install device
driver before installing a hardware device.
And please go to step 2 when you have already installed the device
driver.
1-1. Extract the downloaded file in an appropriate folder.
1-2. Execute Setup.exe in the following folder to install the device
driver.
For
Windows 10, 11, Server2016, Server2019, Server2022
<the folder where the file was extracted>\INF\WDM\***_ForWin10\Setup.exe
*) *** is the name of the driver category such as AIO, DIO and CNT.
The screens below show the installation of API-AIO(WDM).
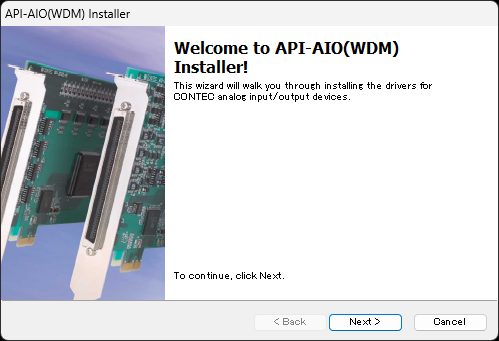
Click [Next>].
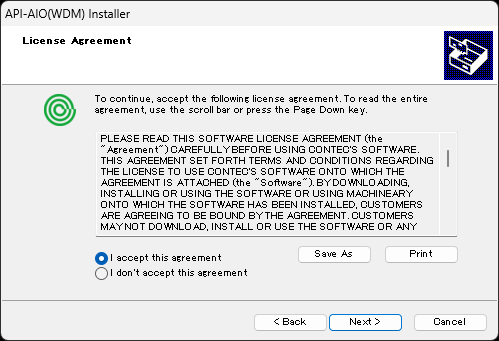
Accept the license agreement, then click [Next>].
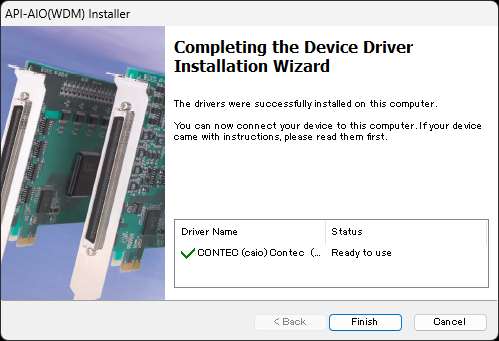
When the setup is completed, the version of the installed device driver
is displayed.
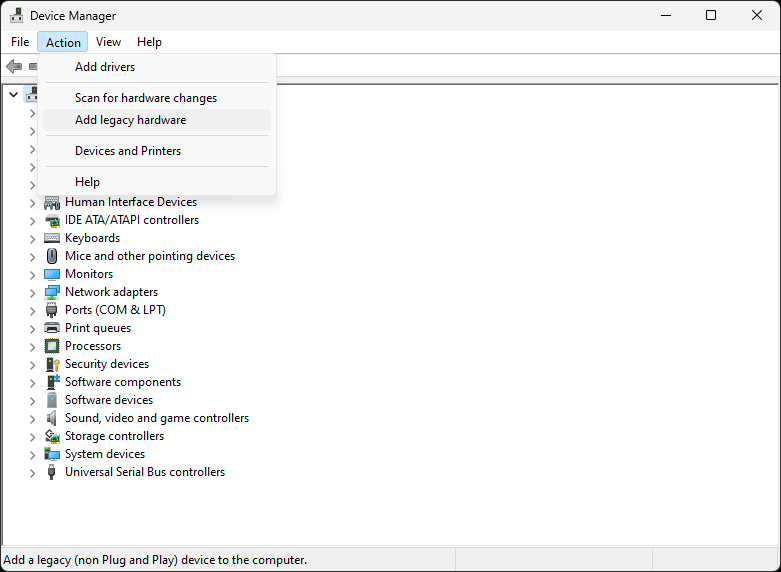
Start Device Manager and select the
PC name at the top of the tree display.
From the menu, select [Add legacy hardware].
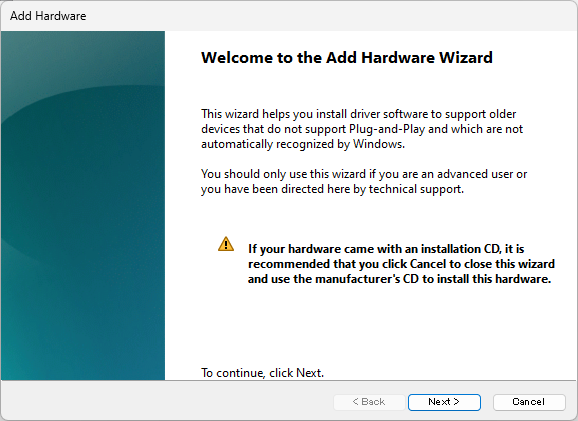
Click [Next>].
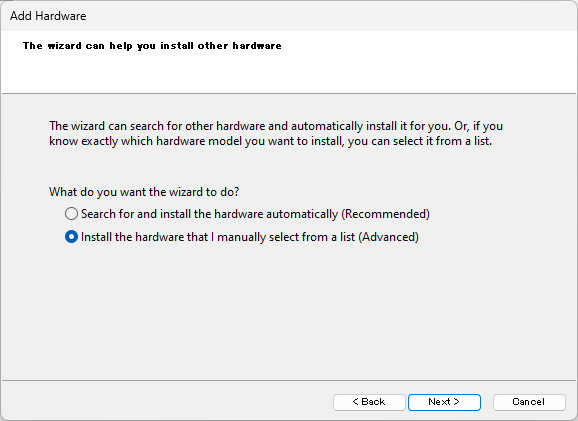
Select [Install the hardware that I manually select from a list (Advanced)],
then click [Next>].
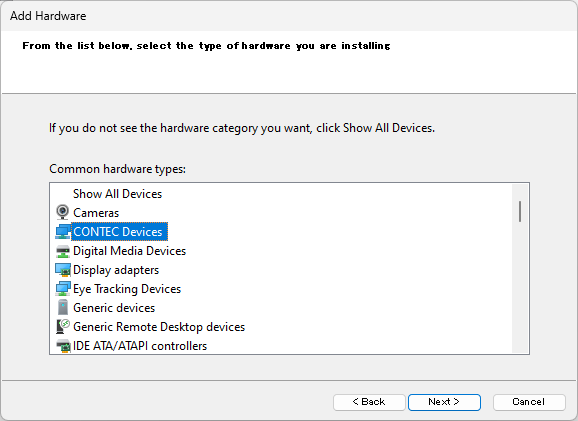
Select [CONTEC Devices] form the list, then click [Next>].
*) If [CONTEC Devices] is not on the list, select [Show All Devices]
and proceed with [Next>],
and select [CONTEC] in [Manufacturer] when a list of all devices
is displayed.
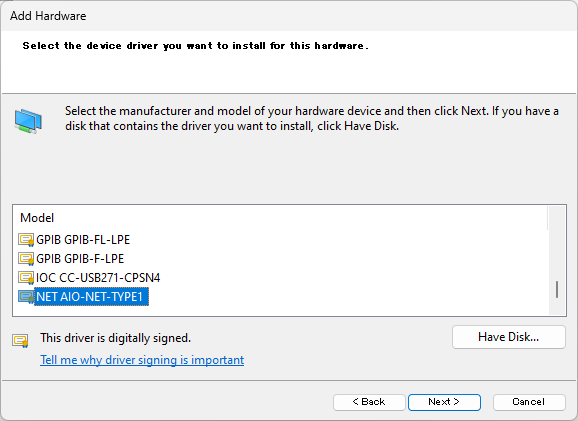
Select [NET ***-NET-TYPE1] from the list and click [Next>].
*) *** is the name of the driver category such as AIO, DIO.
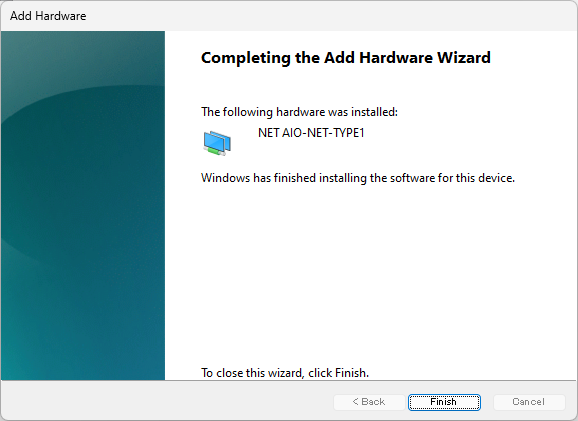
The last screen displays and the installation has been finished.
Please setting and confirm the device name before you use the device.