Please install device
driver before installing a hardware device.
And please go to step 2 when you have already installed the device
driver.
1-1. Extract the downloaded file in an appropriate folder.
1-2. Execute Setup.exe in the following folder to install the device
driver.
For
Windows 10, 11, Server2016, Server2019, Server2022, Server2025
<the folder where the file was extracted>\INF\WDM\***_ForWin10\Setup.exe
*) *** is the name of the driver category such as AIO, DIO and CNT.
The screens below show the installation of API-AIO(WDM).
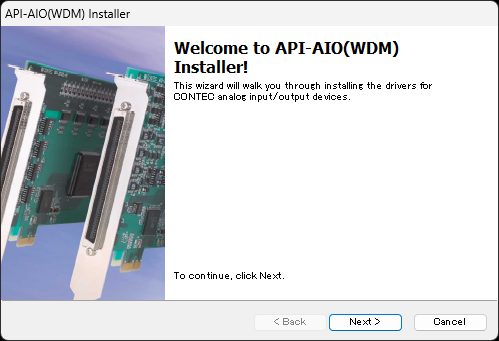
Click [Next>].
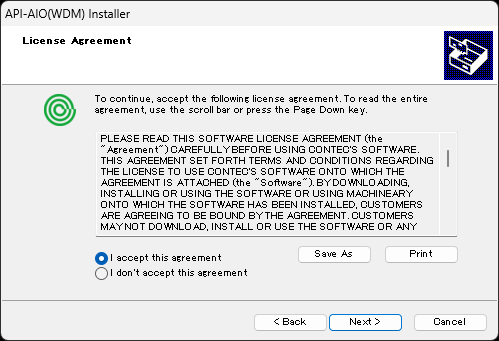
Accept the license agreement, then click [Next>].

When the setup is completed, the version of the installed device driver
is displayed.
Start Device Manager and select the
PC name at the top of the tree display.
From the menu, select [Add legacy hardware].

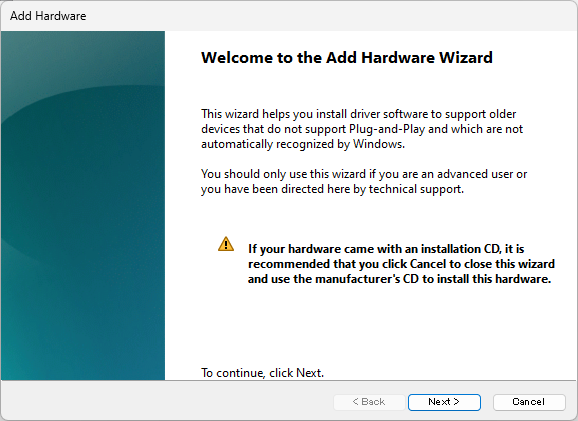
Click [Next>].
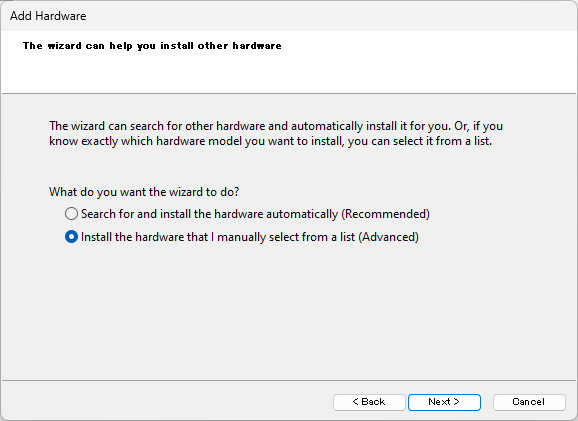
Select [Install the hardware that I manually select from a list (Advanced)],
then click [Next>].
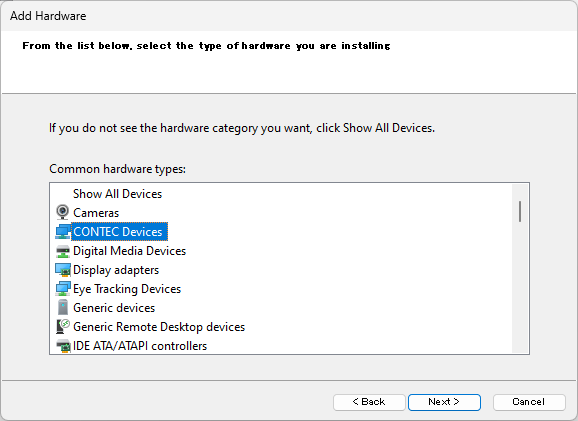
Select [CONTEC Devices] form the list, then click [Next>].
*) If [CONTEC Devices] is not on the list, select [Show All Devices]
and proceed with [Next>],
and select [CONTEC] in [Manufacturer] when a list of all devices
is displayed.
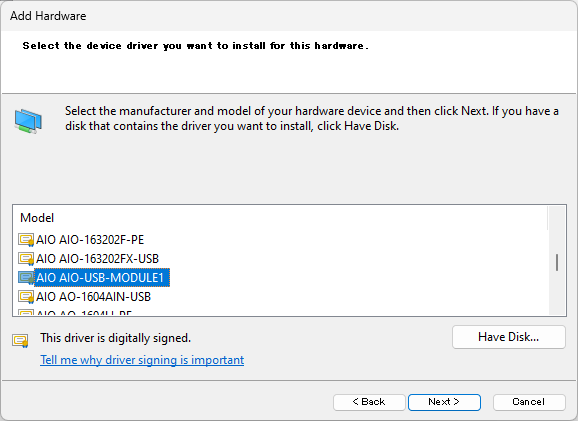
Select [*** ***-USB-MODULE1] from the list and click [Next>].
*) *** is the name of the driver category such as AIO, DIO.
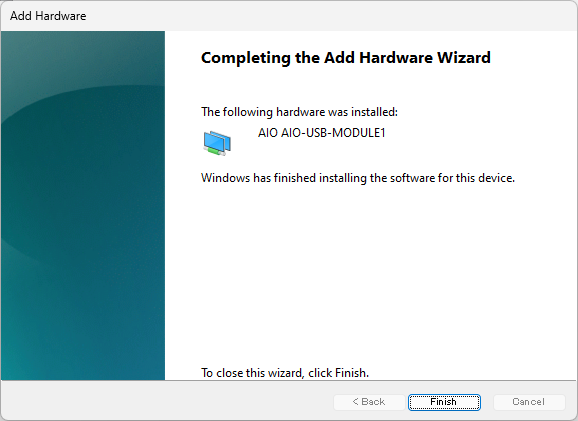
The last screen displays and the installation has been finished.
Check
/ change device name
The device name can be checked and changed from the Device
Manager.
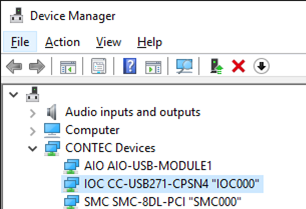
The installed hardware appears under the CONTEC Devices node.
Open the CONTEC Devices node and select the device you want to setup.
Click the [Properties].
The property page for the device opens.
You can see the following dialog when you select "Common Settings"tab
in Properties Dialog.
The initial device name that appears is a default value.
You can modify the device name if you want. Then, click [OK] button.
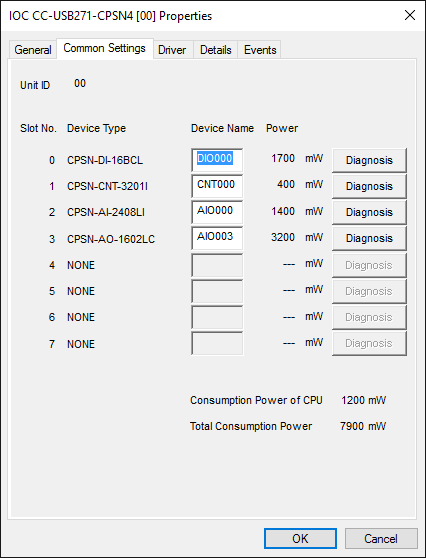
* Make sure that you do not use the same name for more than one device.
* For Unit ID, the values of the setting switches are displayed.
The device name you set here is used later when programming.
Here are the example for your reference.
Device configuration |
The way to access from your software program. |
Coupler Unit : CC-USB271-CPSN4 x 1 unit I/O Module : CPSN-DO-08BL x 2 units |
Please define
the unique device name "DIOxxxx" for each I/O Module.
(Ex. "DIO000" for Unit 1, "DIO001" for
unit 2) There is only one(1) port of Digital Output feature on CPSN-DO-08BL. CPSN-DO-08BL for Unit1 : DIO000, PortNo=0 |
Coupler Unit : CC-USB271-CPSN4 x 1 unit I/O Module : CPSN-DI-16BCL x 2 units |
Please define
the unique device name "DIOxxxx" for each I/O Module.
(Ex. "DIO000" for Unit 1, "DIO001" for
unit 2) There are two(2) ports of Digital Input feature on CPSN-DI-16BCL. CPSN-DI-16BCL for Unit1 : DIO000, PortNo=0 or 1 |