If you want to change the installation destination folder, click [Browse...].
You can change the installation destination folder by using the custom installation.
By carefully selecting the features you want to install, you can save the storage space occupied.
1. In the [Setup Type] dialog that appears during the Installation for Application, select [Custom].
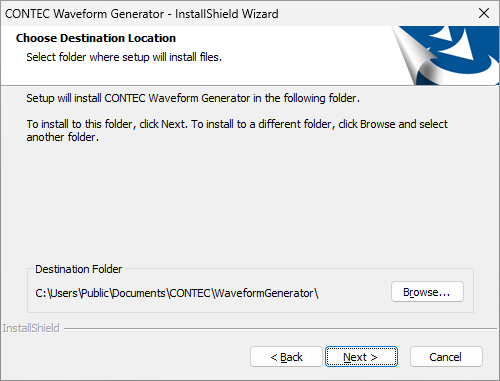
2. [Choose Destination Location] dialog is displayed.
Check the installation destination folder, and click [Next >].
If you want to change the installation destination folder, click [Browse...].
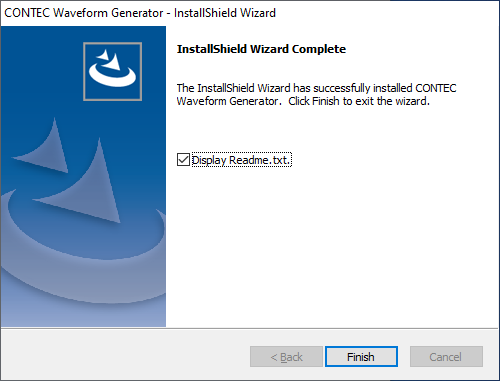
3. When the installation is complete, [InstallShield Wizard Complete] dialog is displayed.
Click [Finish].
By displaying Readme.txt, you can check the notes and version update history.